In my last post, “Patterns from Stories” I shared some kaleidoscope tiled patterns generated from my favourite illustrations. Here is a step-by-step on how to make them in Photoshop.
- First – find a nice image and open it in Photoshop.
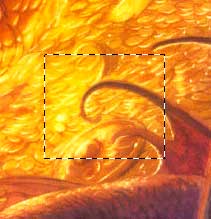
- Use the Rectangular Marquee Selection tool to select a likely bit of the image.
- Copy the selected area Edit > Copy
- Open a new canvas File > New. The New Canvas Dialogue will open:
- Ensure that the new canvas has a transparent background by choosing “transparent” from the Background Contents drop down menu
- By default, the size will be set to “clipboard” – which means the new canvas will automatically be the size of the picture you are copying. So you dont need to change the size.
- Paste the selected image area Edit > Paste
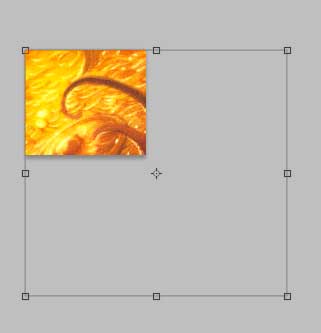
- Using the Crop Tool, select the entire image. Now drag the crop marquee so that it is twice as wide, and twice as high as the image. It does not have to be exactly twice the size, – but it must be at least twice the size. So it can be a bit bigger 🙂
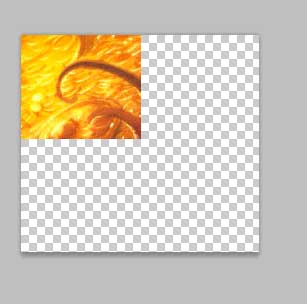
- When you hit Enter to crop the image – you should end up with your image square in the corner of a canvas that is (at least) twice as wide, and twice as high – like so:
- Now you will duplicate the layer that the image square is on like this:
- Choose the Move Tool
- Hold down Alt on your keyboard. The Move Tool’s icon should change to two little arrows, one black, one white.
- Holding down the Alt key, drag carefully on the image square. This will create a duplicate of that layer.
- Position the new square carefully exactly next to the old one . You may wish to enable “snapping” – which helps you line things up exactly – by going View > Snap.
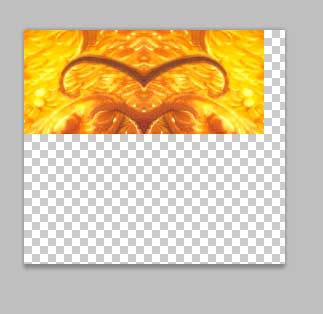
- Now you need to mirror the square you just copied – horizontally. Do that at Edit >Transform >Flip Horizontal. You should now have something like this:
- If you look in your layers palette, you should now have three layers: The bottom transparent layer, and two rectangular image layers.
- Join the two rectangular image layers by selecting the top one, and going Layer > Merge Down.
- You should now have only two layers – the bottom transparent one, and the merged image layer.
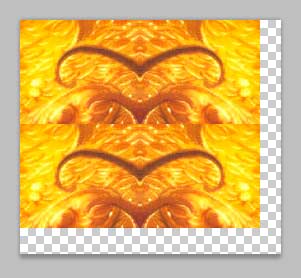
- Hold down Alt, and drag on the image layer to duplicate it. Position it in the lower half of the image like so:
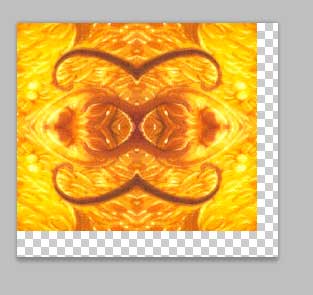
- Mirror the lower half of the image – vertically this time – by going Edit > Transform > Flip Vertical. you should be left with something like this:
- The last thing to do is to get rid of the excess canvas. Do that at Image > Trim
- The “Trim” dialogue box will open. Ensure that “transparent pixels” is checked.
- Click “OK” and the picture should be trimmed down to an exact pattern tile.
And that’s it! If you followed along – you shoud now have a perfectly tileable kaleidoscope pattern.
Some other pattern related posts:
- some more patterns, generated from my own drawings
- this wonderful tutorial on how to make (none digital) repeat pattern
- an example post from Jesse – master (or is it mistress?) of the repeat pattern.
- this example post from Heather – another pattern heroine.







Recent Comments